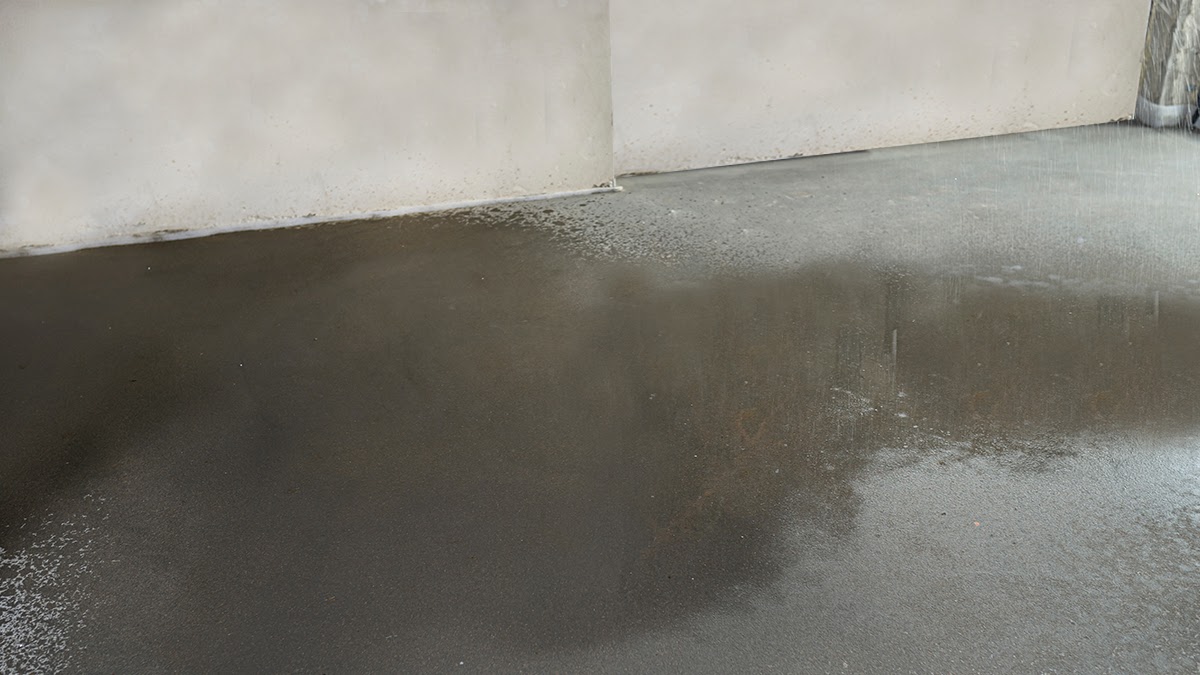
A basement full of water after a storm – I’ve dealt with this problem for years here in New Jersey. Our wet springs and those heavy summer rains we get can easily work their way into basements and cause big damage. Just last month, I was at a house where the finished basement had about two feet of water in it after one bad storm.
From my work in this area, I’ve seen that maybe 60% of the homes I visit have had some kind of water issue in their basement. That’s just the typical neighborhoods, not even the ones down by the water or in those low-lying areas.
I’ve done this work for about 15 years and figured out which signs to watch for and what actually works around here. The soil we have – all that clay – and how high the water sits underground make a real difference in what methods you need. The standard fixes you read about online are written for different conditions than what we have in Jersey.
So I wanted to explain where the water actually comes from in most cases. Once you understand what you face, you can choose how to fix it.
Basement Moisture Sources in New Jersey
I’ve looked at wet basements in New Jersey for about fifteen years now, and most of them come down to water that enters from one of three places. Let me talk about what I usually see because once you know where the water comes from, the fix gets much easier.
So groundwater seepage – that’s when the water table under your house rises up and pushes through your foundation. New Jersey’s clay soil is terrible for this. It just holds water like crazy instead of draining. Spring is the worst, especially after a hard winter. All that frozen ground thaws, and the water has to go somewhere. You might see these white, chalky marks on your walls – that’s efflorescence. It’s salt deposits left behind when groundwater evaporates. Not a great sign.
Surface water is a whole different animal. We get those nor’easters that dump ridiculous amounts of rain, and your gutters just get overwhelmed. Water starts to pool right up against your foundation, and it’ll find its way in through any little crack. The older homes I work on in Princeton and Morristown have it rough – those original limestone and fieldstone foundations are pretty porous compared to modern construction. They weren’t designed for this much water.
Then there’s interior humidity, and customers usually miss this. Those water droplets you see on cold water pipes in summer aren’t a leak – it’s just humid air that condenses when it hits the cold surface. But that moisture adds up. I’ve walked into basements where the owner spent big money on wall repairs. But the whole place still smells musty because they never dealt with the humidity issue.
Each type of moisture problem shows up differently in your basement. Groundwater tends to come up through the floor or low on the walls. Surface water usually enters higher up, especially around windows. Humidity shows itself through that musty smell and condensation on everything cold. If you get contractors in to fix surface water problems when you actually have groundwater that comes up from below, well, you’re gonna have the same mess again pretty soon.
Exterior Waterproofing Methods and Foundation Protection
Exterior waterproof treatment gives you about as much protection as you can get for a basement, though I should mention up front – it’s a big project. Let’s say that you have contractors dig up the entire foundation to apply a rubberized membrane or a specific coat that bonds to the concrete. From what I’ve seen, the yard turns into a construction site for at least two or three weeks.
I’ve been on-site for quite a few of these jobs, and sure – it’s disruptive. But there’s a reason customers still go for it. New Jersey weather is tough on foundations – I mean, days where it’s 20 degrees at dawn and 60 by afternoon. The membranes hold up best here because they flex with temperature changes. Without that flexibility, you’d see cracks and separation within a few years.

As for money, it gets expensive fast. Most jobs I see run between $15,000 and $25,000 for a typical 1,500 square foot home. It could go higher if they find old oil tanks buried out there or if the property has water removal issues nobody knew about. Homeowners usually bite the bullet when they already have foundation work planned, when they add a room, or when they have drain problems anyway. If you build from scratch, though, this waterproof method might only run you $3,000 to $5,000 – way less than if you retrofit later.
What actually makes this strategy work is when you pair those waterproof membranes with drain tiles. These are perforated pipes that sit along your foundation’s base and grab water before it starts to push against your walls. So you have the membrane that blocks water and the drains that move away whatever collects down there. One of my clients did this whole setup about ten years back – she mentioned last month that she sometimes forgets she even has a basement because there’s never any dampness or that basement smell.
Interior Waterproofing and Drainage Options
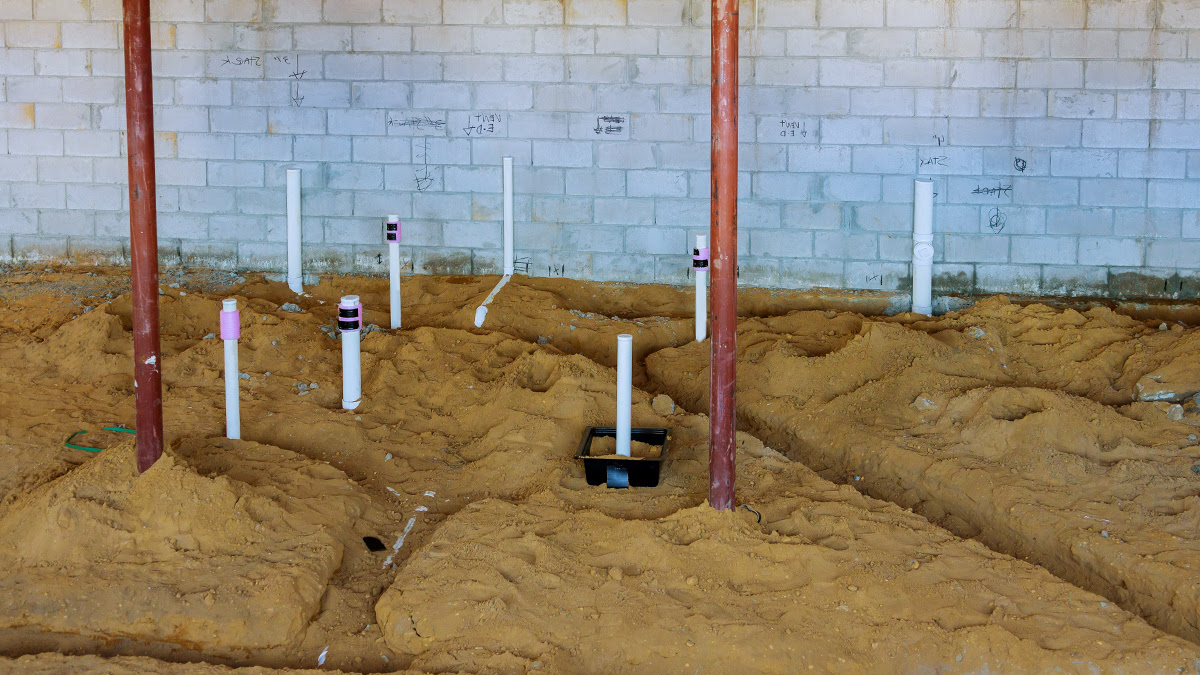
French drains and channel drains work because they give water a controlled path. I’ve worked on dozens of basements, and these systems are like underground gutters for the foundation. They collect moisture at the foundation perimeter and direct it to the sump pump. The installation means that you’ll need to cut a trench along your basement walls – usually 12 to 18 inches deep – then lay down perforated pipe in gravel and connect everything to a collection point. Your basement will look like a construction site for about a week, but nobody warns you about that. Still, I’d rather handle that mess once than deal with puddles every time it rains hard.
Waterproof barriers and sealants act as a secondary line of defense. They can’t hold back major water pressure, but for minor seepage and condensation, they actually do a decent job. The barrier forms a vapor shield that blocks moisture from those little concrete pores. I usually think of them like this – your drainage system does the real work, and sealants catch whatever slips through. For walls that show efflorescence – that white crusty buildup on concrete – I usually go with elastomeric products.
Your sump pump choice ends up way more important than most homeowners first think. Standard pumps seem fine until that inevitable storm knocks out the power. In my experience, that’s right when battery backups or water-powered systems earn their keep. New Jersey storms usually knock out the electricity right when basements start to flood. When I set up systems now, I lean toward combination units – maybe a primary AC pump that moves around 3,000 gallons per hour paired with a battery backup rated for 2,400 gallons. From what I’ve seen, that combination takes care of whatever comes along.
Interior methods make the most sense when you look at them as one part of the whole system. They’re especially helpful in older homes where you’d need to dig up the exterior – that would cost $15,000 to $25,000 just for excavation and to waterproof the foundation walls. If you see multiple inches of water in storms, interior drainage alone probably won’t cut it. In those cases, I’ve found that interior and exterior systems need to work together. Sure, it’s more expensive upfront. But at least you’re not in a constant battle with water problems every few months.
Ventilation, Dehumidification, and Humidity Control
I used to assume water damage only happened when you could see it come through the walls. But after I worked in hundreds of basements, I’ve learned that moisture shows up in ways most of us never consider. New Jersey summers have taught me a lot – I’ve measured dangerous humidity levels in basements that felt completely comfortable to the homeowner. When that warm, humid outdoor air meets your cool concrete walls and floors, condensation forms even though nothing actually leaks.
From what I’ve measured over the years, basements do best when humidity stays somewhere between 30 and 50 percent. Once you creep above that, mold starts to grow, and that musty basement smell gets stronger, and stored items start to deteriorate. I remember one basement where the owner insisted it was dry – my hygrometer showed 65 percent humidity. To get down to safer levels almost always means that you need mechanical dehumidification.
It took me a while to learn how to size these units right. Early on, I bought a 30-pint dehumidifier for my own 1,500-square-foot basement. That poor machine ran all the time, and the humidity barely budged. Through trial and error, I’ve found you usually need around 50 pints of capacity per 1,000 square feet, though basements that already feel damp need even more. I like to go a bit bigger than the calculations say – it’s better to have the unit cycle on and off normally instead of one that works too hard to keep up.

I wish somebody had told me earlier – dehumidifiers can drive up your electric bill quite a bit. The Energy Star models cost more up front but save quite a bit over time. I’ve met clients who tried to use just exhaust fans to save money. In my experience with our climate, fans might move the air around, but they don’t actually pull out enough moisture to matter.
Where you put the dehumidifier changes how well it works, too. I learned to keep mine at least a foot away from walls so air can circulate well, and somewhere near the middle of the basement seems to work best. I’ve also had success when I put a small exhaust fan near naturally damp areas like utility sinks to improve circulation throughout. Just be sure you’re not stuck with a fan that pulls in outdoor air from humid months – I keep my basement windows shut tight from May through September.
Preventative Maintenance and Landscaping Strategies
Foundation checks every few months have helped me avoid some pretty expensive repairs over the years. Every few months, I make a point to check around the house for cracks or gaps near the windows. New Jersey weather is rough on concrete and caulking – yesterday it was 60 degrees and now it’s 20. I’ve seen small hairline cracks from fall turn into legitimate gaps by spring. It takes me about 20 minutes for a full check. Last year, I caught a problem early and kept water out of my basement during that April nor’easter.
I used to think any plants would work near the house until I figured out how much water ends up against the foundation. Those hydrangeas everyone loves need water almost every day in summer, which means you create a swamp right against your house. After I had dampness problems, I switched to plants that barely need water – stuff like sedum that actually likes dry soil. Oh, and I had no idea mulch could cause problems until my contractor showed me termite damage where the mulch was piled against the siding. Now I keep everything at least half a foot away from the house.
For what it costs – maybe an afternoon of work and a few basic supplies – I’d rather spend a Saturday on maintenance work than have my basement turned into a construction zone and contractors rip everything apart to install drainage systems.
Professional Services vs DIY Strategies
When I first dealt with water in my basement, I had no idea where it even came from. The contractors I eventually called had these moisture meters and thermal cameras- I watched them track water through places I’d stared at for weeks and never saw anything. They followed these water trails behind the drywall that my flashlight couldn’t pick up. What got me was when I learned about New Jersey’s clay soil and how it holds water differently than other places. Our freeze-thaw cycles create these particular drainage problems that I hadn’t considered. The soil here just sits there and holds water – nothing like those sandy areas in Florida where my brother lives.

I learned the hard way that some waterproof jobs are more than what I can tackle myself. When you install perimeter drains, put in those exterior membranes, or do actual foundation work, if you get the installation wrong, the whole system’s useless. It’s not about the products that fail – the problem is when you install them wrong. You need somebody who actually has insurance and knows our local building codes, which seem to change every time I turn around.
I tried to fix stuff myself at first and just created new problems. I’d seal up one crack and thought I was clever, then water would start to come in from somewhere else – sometimes three new places. Or that drain I installed myself, which seemed fine until it clogged up four months later. My small leak turned into rotted joists that cost way more to fix. I remember one neighbor who bought about $500 worth of supplies at Home Depot and did everything himself. Six months later, he had to pay over $5,000 to fix the mess he’d made. What I do now is have contractors take care of the heavy lift work – the foundation waterproof work and main systems – and I take care of the maintenance. After they installed my perimeter drain system for around $3,000, I just kept the gutters clean and ran my dehumidifier.
Contact Our Team Today to Start Your Project
I’ve worked with basements long enough to know that groundwater that pushes up from below is a completely different beast than rain that finds its way through foundation cracks. And when you have humid air that condenses on cool surfaces – well, that needs its own fix altogether. The best way to handle it is to combine the right fixes for each problem.
I’ve learned over the years that when you prevent water damage, it costs way less than if you fix it later. We’re at about $3,000 to $8,000 for quality waterproofing systems, based on your basement size. Maybe another $200 a year for maintenance. Compare that to mold remediation (which can easily hit $15,000), foundation repairs that sometimes top $25,000, or if you lose irreplaceable family photos and furniture to water damage.
There’s this relief you get when your basement stays dry through the worst storms. You just stop worrying. No more need to run downstairs with a flashlight every time it pours. No more need to move boxes to higher shelves just in case.

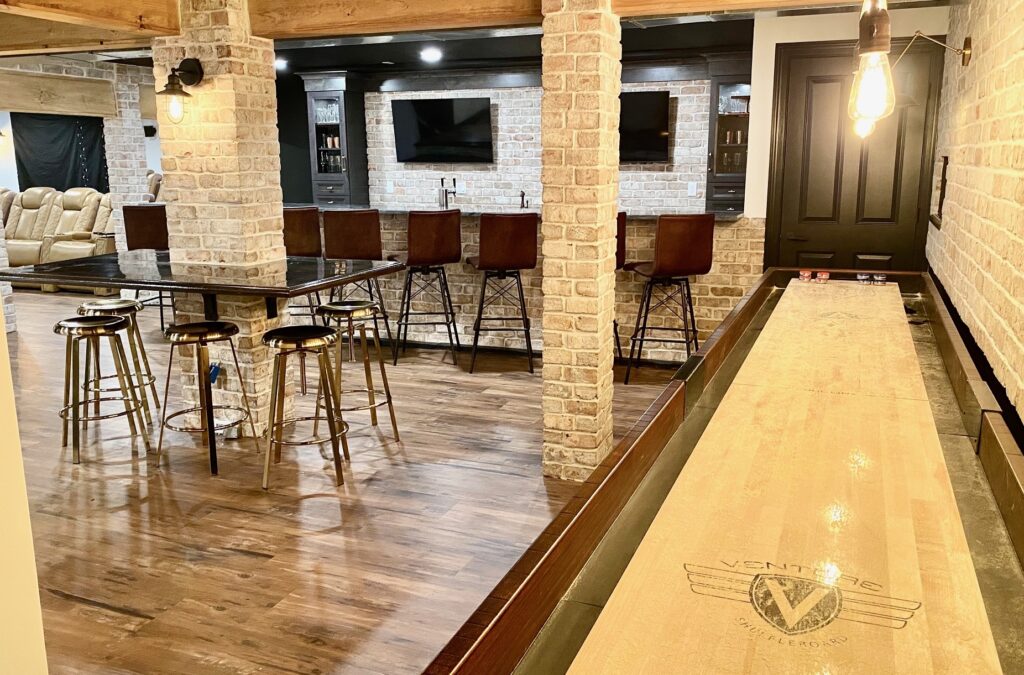
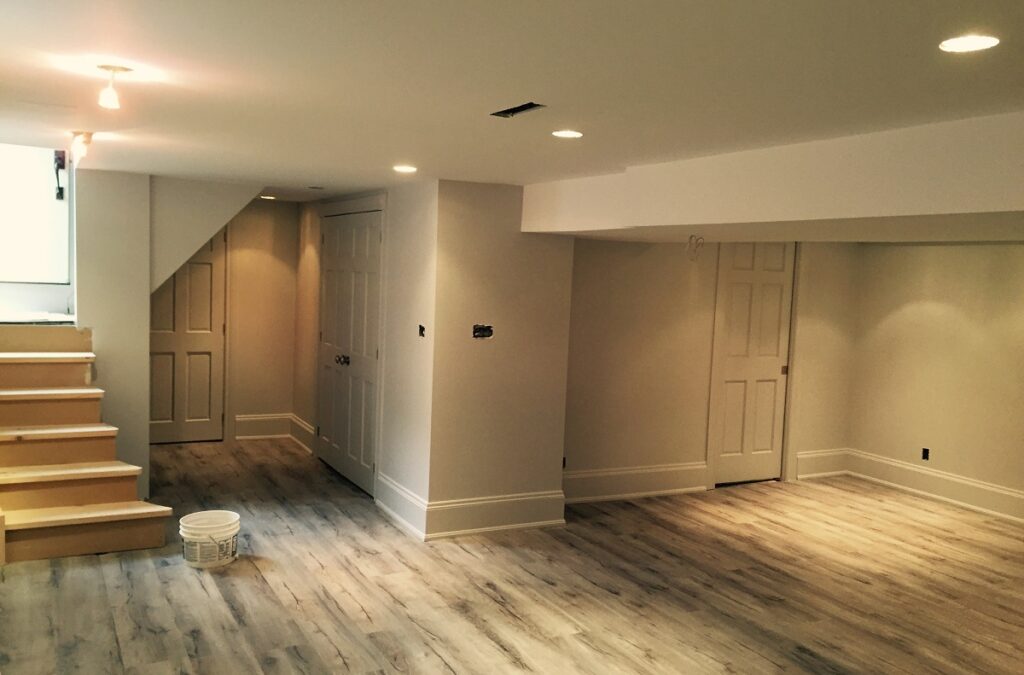
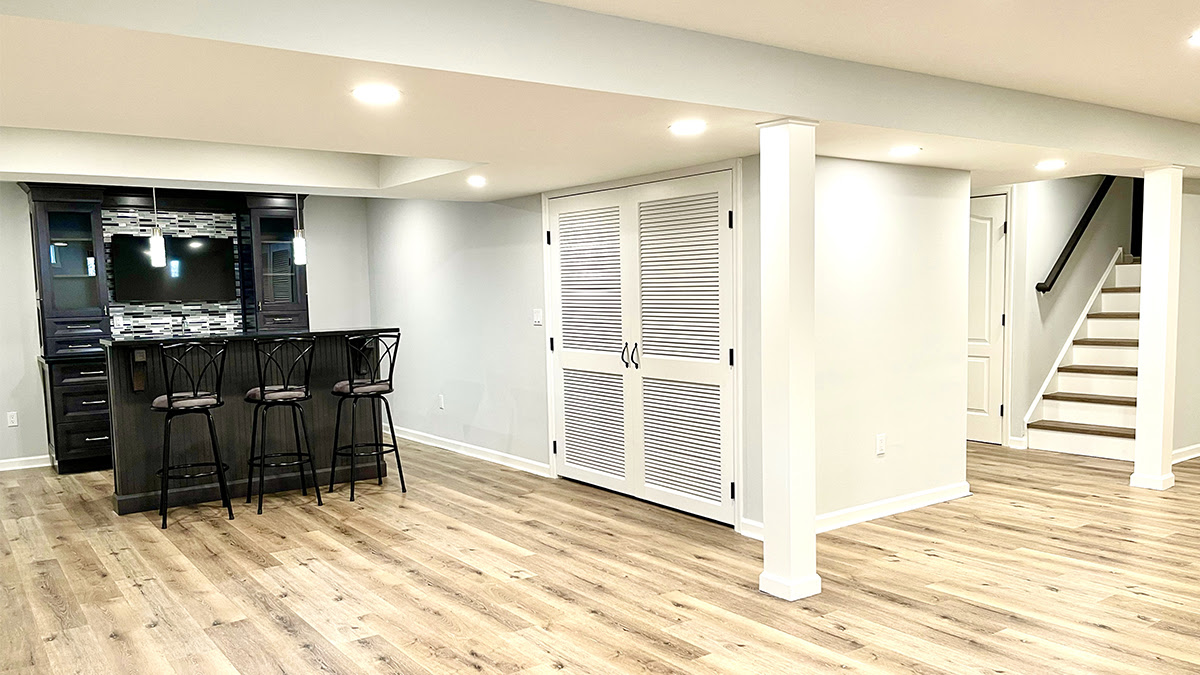
We’ve done this work at Magnolia Home Remodeling Group for over thirty years now, and the changes we see in homes still amaze me. I remember this one family whose basement was so damp the kids refused to go down there – now it’s their favorite hangout place. Another client turned their problem basement into an office where they run their business.
New Jersey homes come with their own quirks, especially the older ones with those rubble foundations from the 1920s. Same with newer builds where the grading wasn’t quite right.
If you want to see some of the basements we’ve fixed up, check out our project gallery. We also have a guide that you can download, or just give us a call to talk through your situation. I’d love to help you get that dry, comfortable basement – and even better, the confidence that it’ll stay that way.